
Installing a wood stove
Installing a wood stove
The coldest room in our house is the dining room which faces north. In the winter, the temperature on cold mornings usually dropped to around 10 degrees - or even less. The reason for this was not only due to the room facing north, but also to a large open chimney through which sucked heat out of the room. I often used a chimney 'balloon' to seal it but this was inconvenient in the winter when we often wanted to have open wood / coal fire. Even when we had a fire and the central heating was on in the room, it took an age to heat up and the room never held heat for very long it seemed. It was also the case that the dining room took the longest to heat up in the mornings and held the gas on for an extended amount of time.
I decided to install a wood stove as these are much more efficient than an open fire. This also had the benefit of blocking the chimney up removing the source of strong cold draughts! It turned out that we should have fitted one of these years ago as you will see!
I seriously considered fitting the stove and chimney liner myself but eventually decided against it. The reasons for this was that it was the middle of a very rainy winter; it is definitely a two-person job and I would have had to pay the local building control £400 anyway to get my work improved! It was easier to use a HETAS approved installer.
Any contractor fitting a stove needs to be HETAS approved so I found several HETAS-approved businesses to get a quote from on their website.
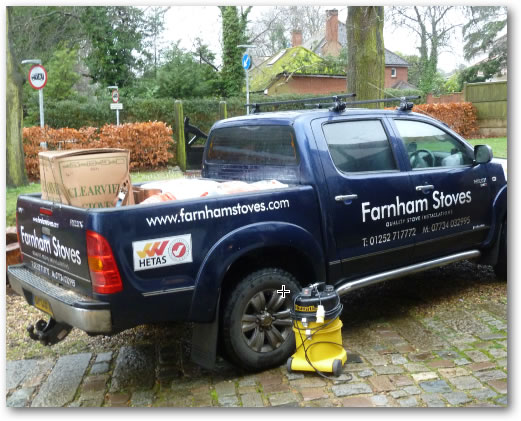
I finally settled on a local company called Farnham Stoves and I can throughly recommend them if you live in this region of the UK.
We agreed a date when the work was to be done and the pickup duly arrived on time at around 09:30 with all the materials required to undertake the work.
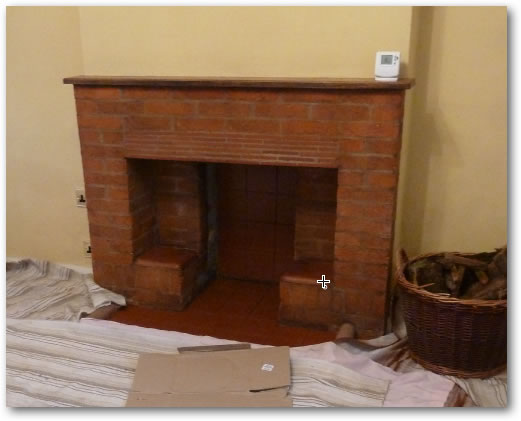
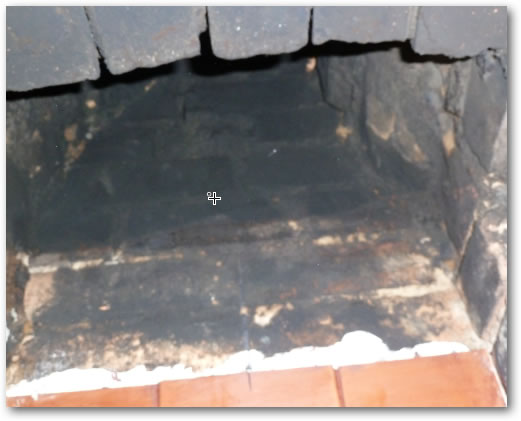
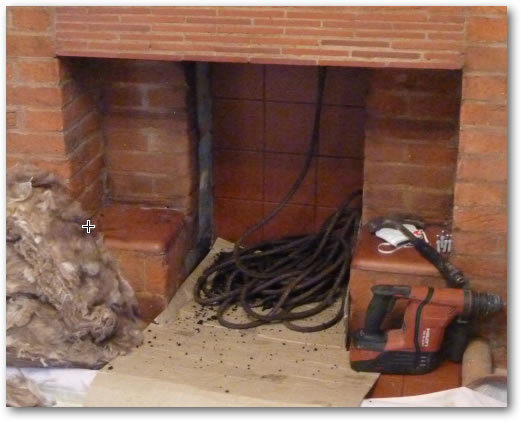
This is the empty fireplace ready to have the stove fitted. I had to do quite a bit of work to prepare it for the fitting of the stove.
This included removing a false wall at the back of the fireplace to allow the stove to be pushed back far enough for the liner to falign with the chimney.
I also had to retile it with quarry tiles.
All this work took several days but I prefered to do it myself to save time and money!
We also had to sweep the chimney before fitting the stove - for pretty obvious reasons!
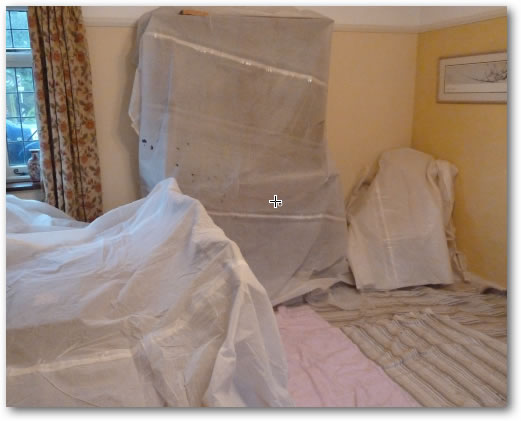
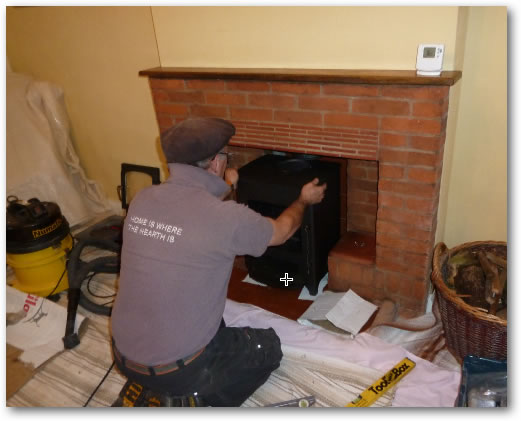
The first job was to cover up all the furniture in the room with dust cloths. I'm sure that pulling the liner down the chimney will create a lot of soot and dust!
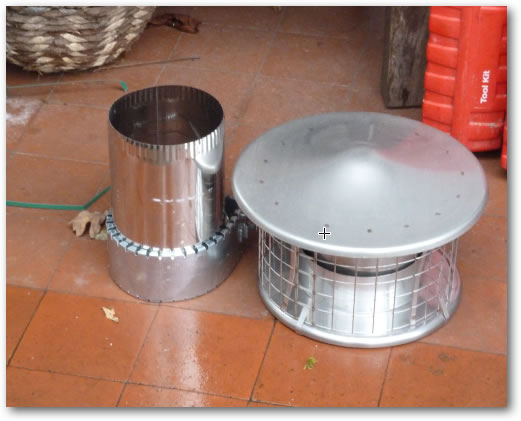
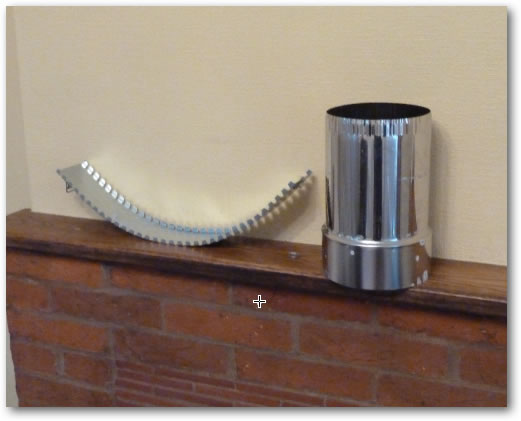
This is the cowl that will be finally fitted on top of the chimney pot.
The left had assembly clamps onto the top of the liner while the right-hand assembly is clamped to the top of chimney pot.
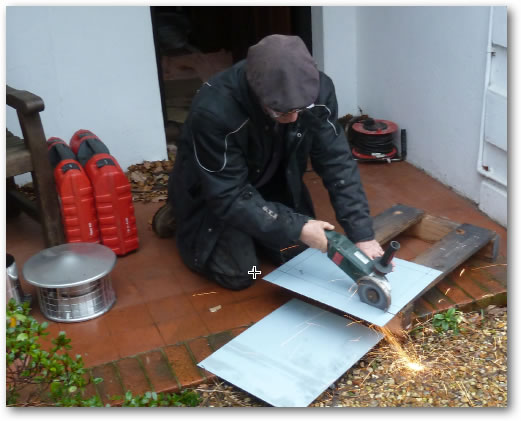
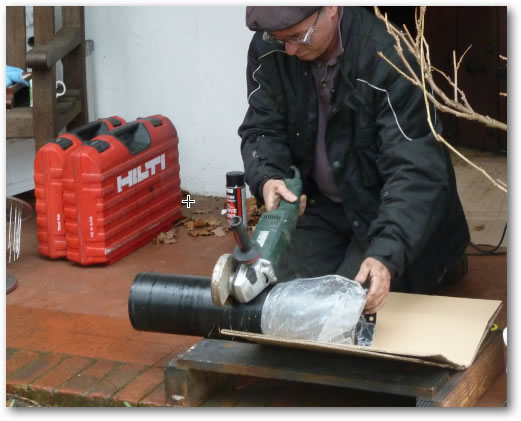
The registration plate is used to block the chimney above the stove and is handmade from galvanised steel sheet using an angle grinder.

Cutting the hole in the registration plate for the stove pipe to pass through.
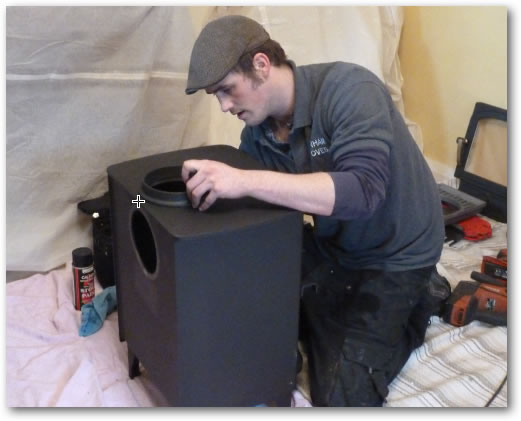
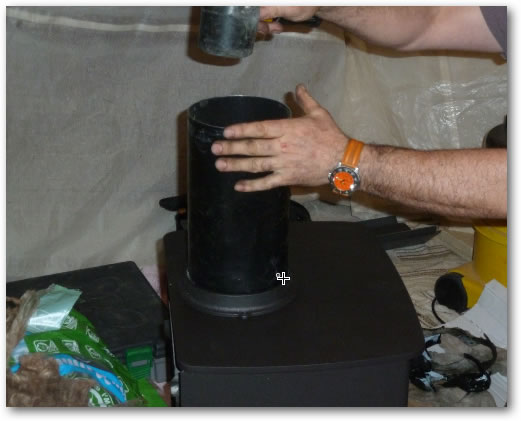
Assembling the stove and changing the chimney to the top of the stove rather than coming out of the back.
We also had to change to shorter 50mm legs as the top of the stove was rather close to the top face of the fireplace.
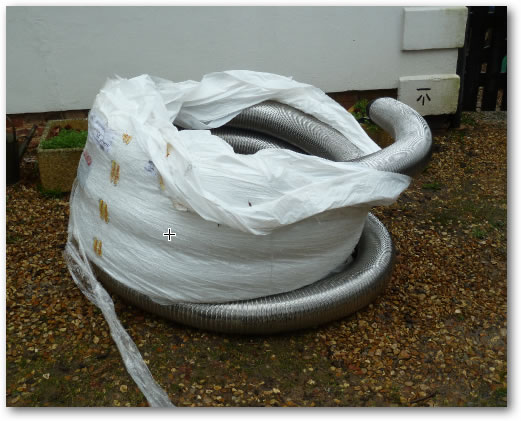
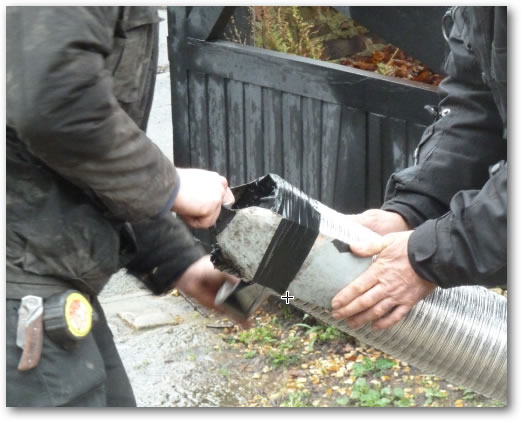
This is the 8 metre length of 6" flexible liner ready to be inserted down the chimney.
It needs to be inserted the right way up otherwise soot and tar will get caught up in the joints.
These pieces connect the stove pipe to the liner.
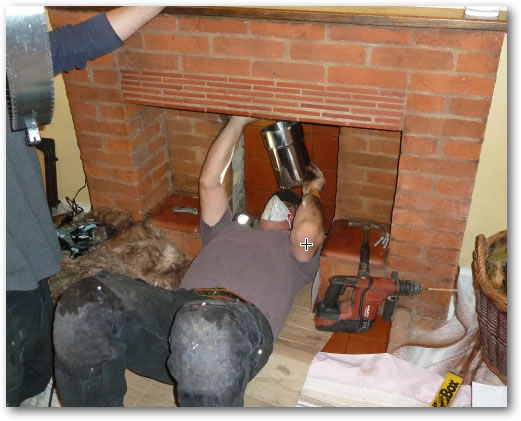
This is a view looking up the chimney breast before the liner is pulled down and the registration plate is fitted.

This is the completed registration plate ready to be screwed into the chimney breast.
A 'hook' is attached to the bottom of the liner to attach a rope with a weight on the end that is lowered down the chimney first.
This can be used to pull the liner past any obstacles in the chimney flue. In our case this was not needed.
It also helps to ensure that the liner is inserted into the right chimney!
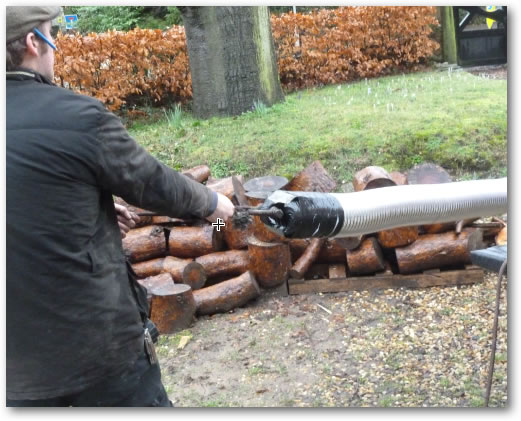
Straightening the liner prior to pushing it down the chimney.
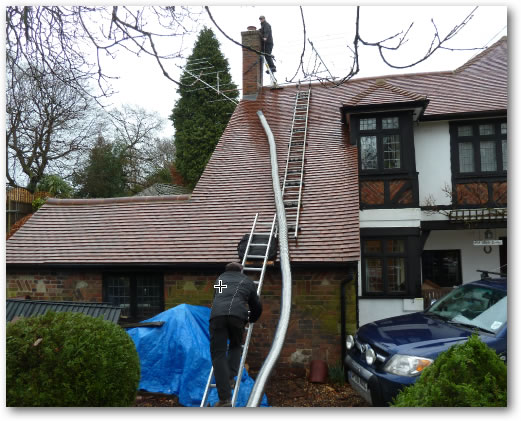
Ladders are erected to give access to the chimney ready to insert the liner into the chimney pot.
The rope is lowered down the chimney to pull the liner down if necessary.
It coming down shows that the correct chimney is being used!

Once the rope is down the liner can be pushed and pulled down the chimney.
In dismal weather as you can see.

With a bit of juggling to get the liner past a bend in the chimney, the liner arrives in the fireplace.
Not too much soot so it showed that sweeping the chimney before starting was well worth while.

The liner is now in place and the 'hook' and the rope can be disconnected.
The stove pipe to liner connector is fixed in place.
The registration plate can now be screwed in palce with a bit of cursing I'm sure.
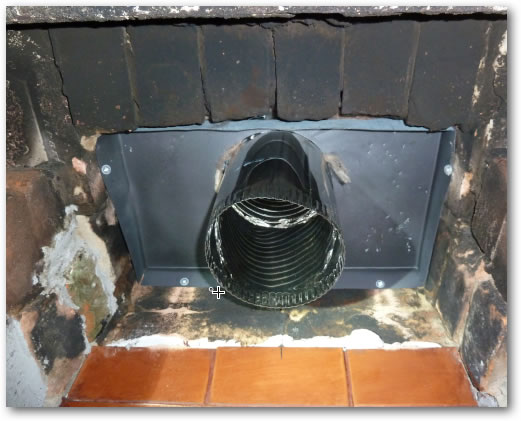
This is a view looking up the chimney breast with the registration plate and liner now fully installed.
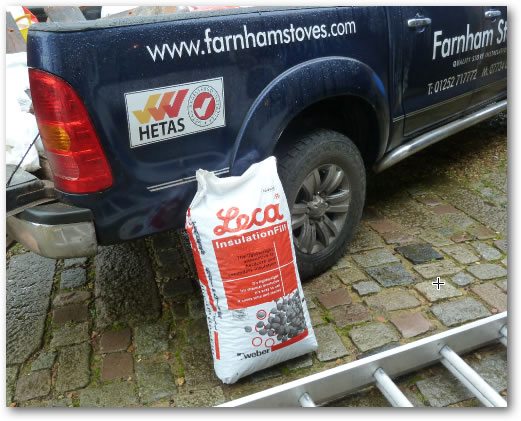
This is insulation used to insulate the chimney.
The chimney breast is on an outside wall so it is best to insulate the liner.
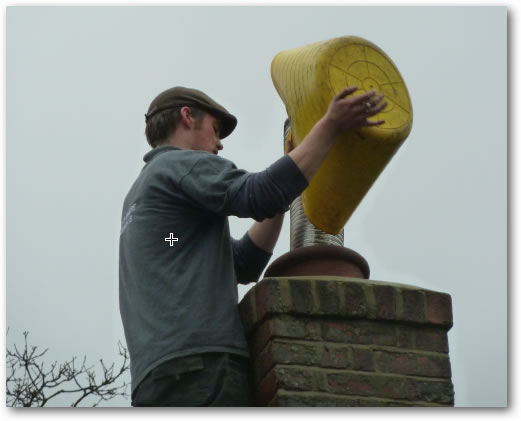
The insulation is poured into the chimney through the gap between the liner and the chimney pot. Four bags were required.
Cutting the stove pipe to the required length.
Fixing the stove pipe to the stove.
Nearly there! Positioning the stove in the fireplace.

Fixing the cowl to the liner and chimney pot.
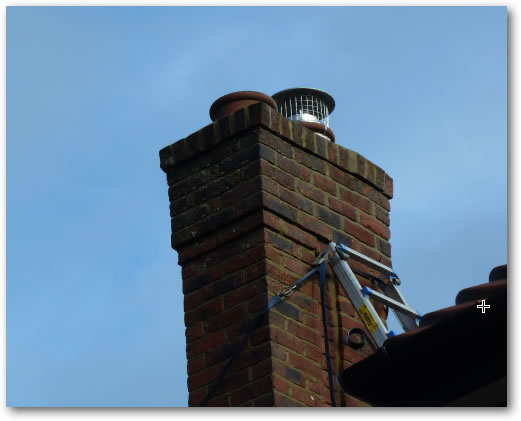
The cowl in its final position!
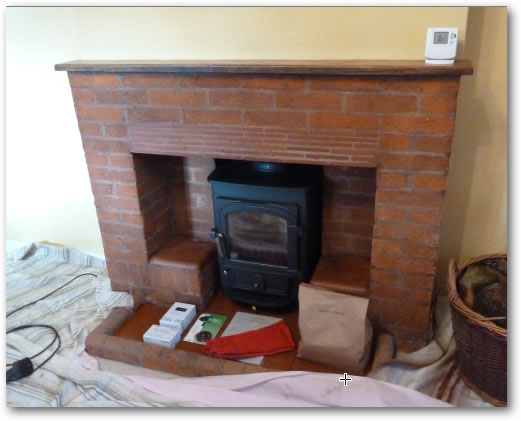
The stove is connected to the stove pipe and after a tidy up the job is comple!
All that remains is to show me how to light it and use it.
Overall it took about 4 hours to fit the stove.
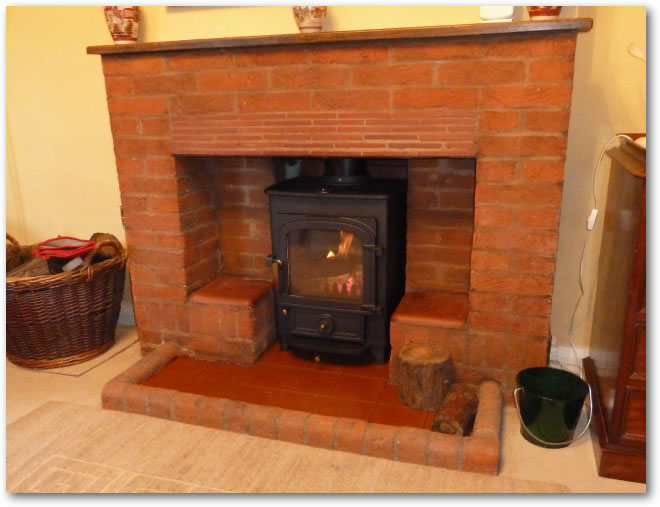
Job complete!
I have to say that the stove is very efficient.
Email me: